Latte art for beginners, step by step
Latte art is not a talent, it is two skills: silky milk and a calm pour. This guide takes you from your first cup to your first heart, in the order a barista trainer would teach it.


What you need
You don’t need a café machine, but you do need a few basics. Everything on this list matters more than the price of your gear.
- An espresso machine with a steam wand. Handheld frothers and automatic milk systems make foam that is too stiff or too coarse to draw with.
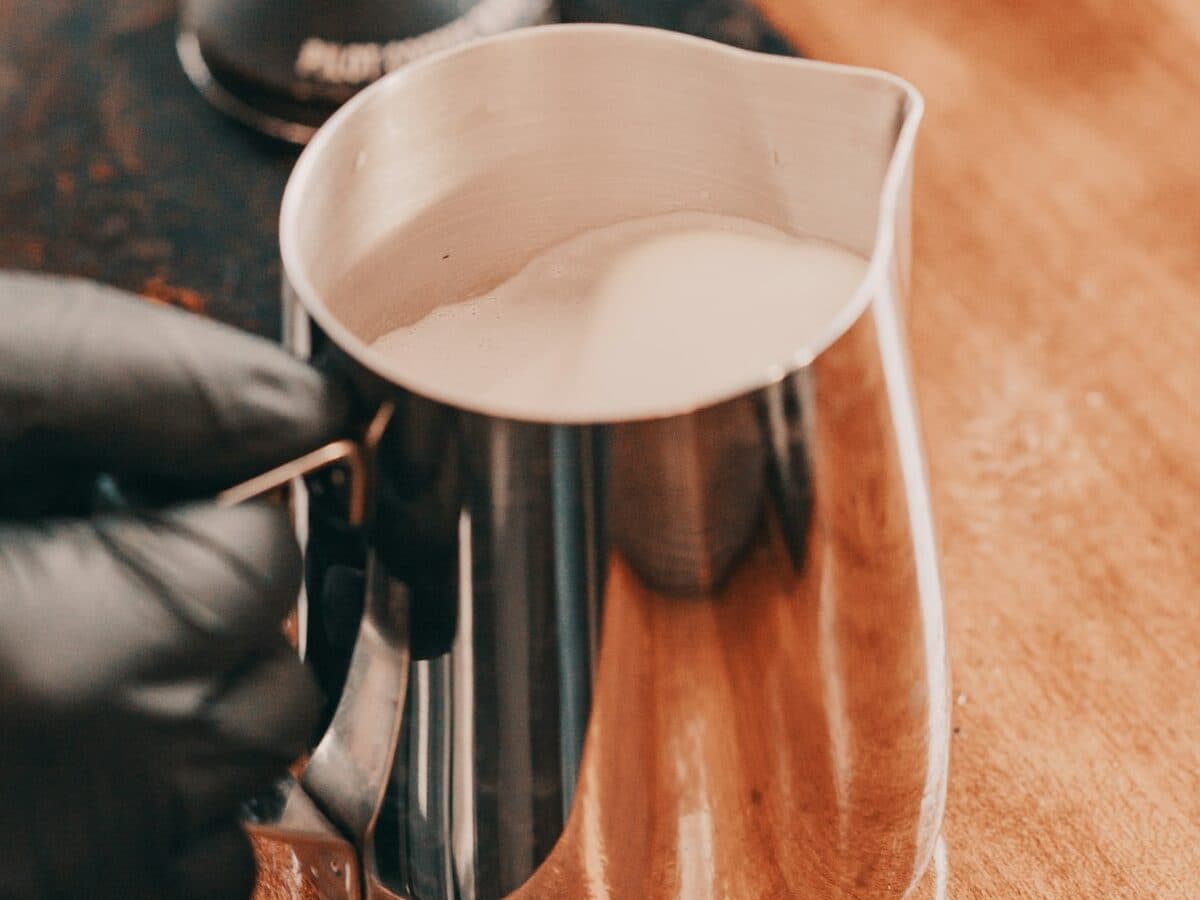
- A stainless steel milk pitcher of about 350 ml (12 oz) with a pointed spout. The spout is your pen.
- Cold whole milk straight from the fridge. Its fat and protein make the most forgiving foam for learning.
- A wide, round cup of about 200 to 300 ml. A wide surface gives the pattern room to spread.
- Fresh espresso with crema. The brown crema is the canvas; without it there is no contrast.
How latte art actually works
Every pattern comes from one simple rule: the higher the pitcher, the deeper the milk dives under the crema; the closer the spout is to the surface, the more the foam stays on top and shows white.
So every pour has two phases. First you pour from a few centimetres up in a thin stream to mix milk and espresso into a stable base. Then you bring the spout down almost onto the surface, pour a little faster, and the white foam starts to draw. Height, flow and the tilt of the cup are the three things you control.
None of that works without the right milk. It needs to be glossy and pourable, like wet paint, with no visible bubbles. If you are not sure yours is, read how to steam milk for latte art first.
Your first heart in eight steps
- Pull a shot of espresso straight into your cup. Start steaming right after, so the crema is still fresh when you pour.
- Steam the milk: a few seconds of stretching with the tip just under the surface, then let it spin until the pitcher is hot to the touch, about 55 to 65 °C.
- Tap the pitcher once on the counter and swirl it until the surface is glossy and smooth. Keep swirling until the moment you pour.
- Hold the cup by the handle and tilt it towards you, about 30 to 45 degrees. The espresso should pool close to the rim without spilling.
- Pour from about 5 to 10 cm above the cup in a thin, steady stream into the centre. The milk dives under the crema and the surface stays brown.
- When the cup is about half full, bring the spout down until it almost touches the surface and pour a little faster. A white dot appears and grows.
- Keep the flow steady and slowly level the cup as it fills. The white circle grows wider instead of deeper.
- When the cup is nearly full, lift the pitcher a little, slow the stream and pull it through the circle towards the far side. The thin line pulls the circle into a heart.
Don’t aim for a perfect heart on day one. Aim for a white circle that appears where you want it. Once that works, the pull-through is a small step.
Common beginner mistakes
No white appears at all
Why
The spout is too high or the milk has too little foam, so everything dives under the crema.
Fix
Bring the spout right down onto the surface for the drawing phase and stretch the milk a little longer next time.
A white blob instead of a heart
Why
The milk is too thick, or you pour without a clear pull-through at the end.
Fix
Stretch for less time and finish with a thin, quick line through the middle. More in why your heart turns into a blob.
Big bubbles on the surface
Why
The wand tip sat too high while stretching and sucked in too much air at once.
Fix
Keep the tip just under the surface so it hisses softly, and tap and swirl before you pour.
The pattern ends up off-centre
Why
You started pouring off the middle, or the cup was turned while you poured.
Fix
Aim for the centre of the crema, hold the cup straight and let the pattern grow towards you.
How to practise
Short sessions with several cups beat one long session. After each cup, check one thing: where the white appeared, whether the milk was glossy, whether the heart sat in the middle. Change only one thing on the next cup.
To save milk, practise steaming with cold water and a drop of washing-up liquid. It foams similarly and shows you whether your tip position is right. Once the heart works reliably, move on to the tulip and then the rosetta.
Frequently asked questions
How long does it take to learn latte art?
It differs a lot from person to person. Most beginners need many practice cups before a heart works reliably. Practising often with a clear focus per cup helps more than long sessions.
Can I learn latte art without an espresso machine?
Hardly. Latte art needs espresso with crema and microfoam from a steam wand. Handheld frothers make foam that is too stiff, so you can practise the pouring motion with it, but clean patterns are very hard.
Which pattern should I learn first?
The heart. It teaches you the base, the moment the white appears and the pull-through. The tulip and the rosetta use exactly these movements.
Does latte art work with oat milk?
Yes, with barista versions of plant milks, which are made to foam. They usually need a little less stretching than cow’s milk and are a bit less forgiving, so learning with whole milk first is easier.