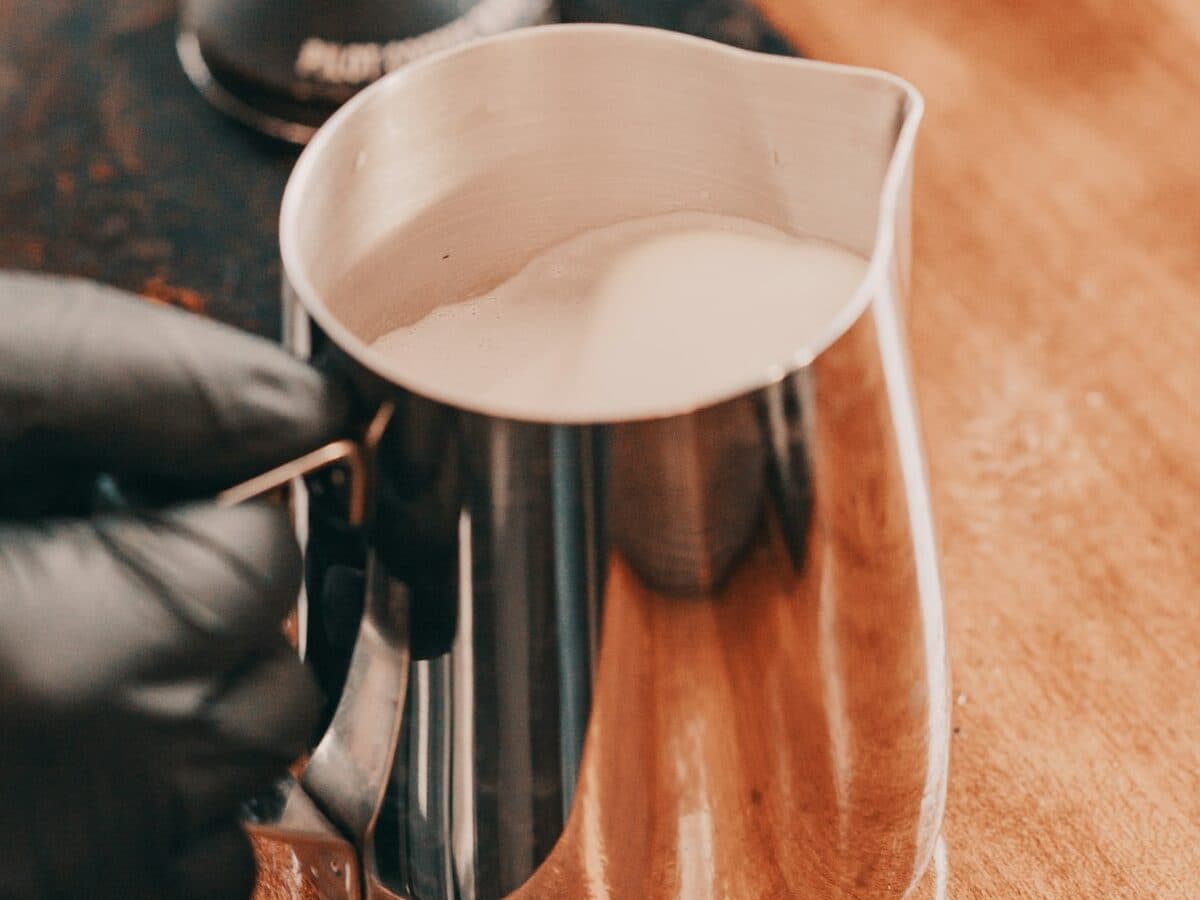
How to pour a latte art tulip
A tulip is several hearts stacked on top of each other. If your heart already has a notch, you have every movement you need. The new part is stopping cleanly between the layers and pushing each one into the last.

How a tulip works
Every layer of a tulip is a small white circle. You pour one, stop, and pour the next a little closer to you, so it pushes into the first one and squeezes it into a crescent. That is the push-and-stack technique. At the end, one pull-through connects all the layers and gives the tulip its stem.
You need slightly thinner milk than for a heart, because each layer has to flow into the one before it. If your milk is still on the thick side, read how to steam milk for latte art first.
Before you pour
- Milk: glossy and pourable, a little thinner than for a heart. Keep swirling the pitcher until the moment you pour.
- Cup: wide and round, so the layers have room. Tilt it towards you before the base, the same as for a heart.
- Plan: decide how many layers you want and imagine a straight line through the middle of the cup. Every layer lands on that line.
- Rhythm: pour, stop, pour, stop. Saying it quietly in your head helps to keep the layers the same size.
Pouring a tulip step by step
- Tilt the cup towards you and pour the base from a few centimetres up into the centre until the cup is just under half full. Keep the base a little lower than for a heart, because the layers need room.
- Bring the spout down onto the surface slightly beyond the centre and pour until a small white circle appears. That is your first layer.
- Stop the flow cleanly by lifting the pitcher a little and tipping it back. Don’t pull through.
- Bring the spout down again just behind the first layer, closer to you, and pour. The new circle pushes into the first one and moves it forwards.
- Stop again, the same way. Repeat for a third and, if there is room, a fourth layer, each one a little closer to you.
- Level the cup slowly with every layer, so the surface stays wide.
- Pour the last layer as a small heart, then lift the pitcher, thin the stream and pull through all the layers in one straight line to the far edge.
Start with two layers. When they sit cleanly in one line, add the third.
Common mistakes
The layers merge into one blob
Why
The flow never really stops between layers, or the milk is too thick to be pushed.
Fix
Make a clear stop by lifting and tipping back the pitcher, and steam a little less air into the milk.
The layers drift to one side
Why
The spout lands off the centre line, or the cup turns while you pour.
Fix
Choose a line through the middle of the cup and put every layer on it. Hold the cup still and move only the pitcher.
Layers sink and don’t show white
Why
The spout is too high when you start a layer, so the foam dives under the crema.
Fix
Bring the spout right back down to the surface before each layer. The height between layers matters as much as the stop.
No room for the last layers
Why
The base was too high, so the cup is full after two layers.
Fix
Stop the base earlier and keep every layer small. You can always make the last one bigger.
The stem is crooked or drags the layers
Why
The pull-through is too slow, too low or not in a straight line.
Fix
Lift the pitcher before you pull, thin the stream and move in one quick, straight line. It is the same pull-through as for the heart, see why your heart turns into a blob.
After the tulip
A clean tulip teaches you control over the stop and the push. The next pattern, the rosetta, uses one continuous pour instead and adds a side-to-side wiggle.
Frequently asked questions
How many layers should a tulip have?
Start with two or three. More layers need thinner milk, smaller circles and more room in the cup. Clean, even layers matter more than their number.
Is a tulip harder than a rosetta?
For most beginners the tulip comes first, because it builds directly on the heart. The rosetta needs a continuous wiggle, which is a new movement.
Why are my tulip layers different sizes?
Because each one is poured for a different length of time. Count quietly while you pour, so every layer gets about the same amount of milk, and keep the last one small.
Why does my tulip end up at the edge of the cup?
Every new layer pushes the ones before it forwards. If the first layer starts too far forward, the tulip gets pushed to the rim. Start the first layer closer to the centre.