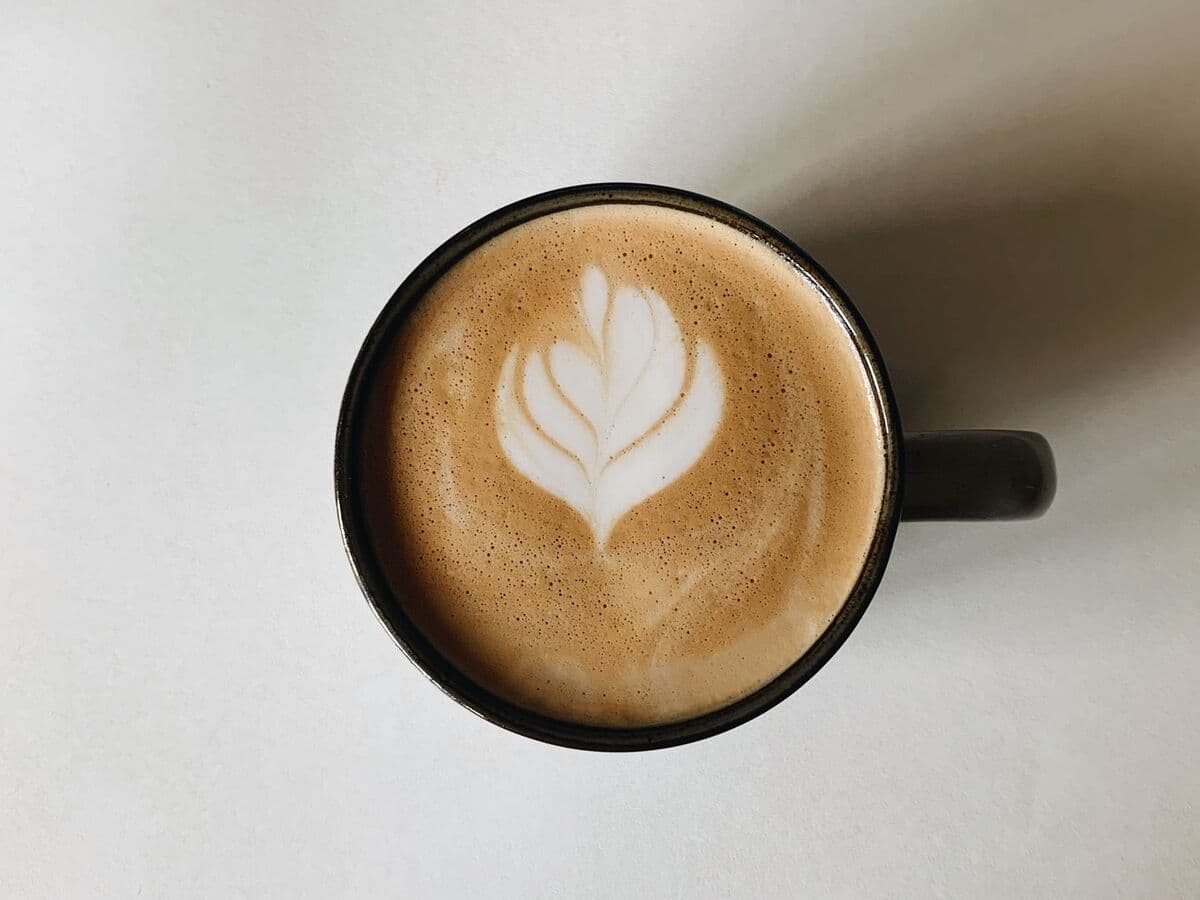
Oat milk latte art: how to steam and pour it
Latte art works with oat milk, just not with exactly the same moves as dairy. It takes in air faster, handles less heat and separates sooner. Once you know these three things, you get glossy foam that draws a clean heart and tulip.
Why oat milk foams differently from dairy
Dairy milk foams mainly because of its protein: it wraps around the air bubbles and holds them in place. Oat milk naturally has little protein. To make it foam anyway, barista versions contain more fat and additives such as acidity regulators. They keep the foam stable and stop the milk from curdling in hot, slightly acidic espresso.
At the machine, that means three things. Oat milk grows faster, so it needs less air. Its foam breaks down sooner at high heat, so you stop at a lower temperature. And foam and liquid separate faster after steaming, so you pour straight away. Everything else is the same technique as steaming dairy milk.
Which oat milk works for latte art?
- Use a barista version. It usually says so in big letters on the carton. Regular oat drinks often foam only coarsely, and the foam collapses after a short while.
- Shake the carton hard before you pour it into the pitcher. The ingredients settle while it stands, and without shaking every cup foams a little differently.
- Use it cold from the fridge, just like dairy. Cold milk gives you more time before it is too warm to add air.
- Stick with one brand for a while. Brands differ noticeably. If you keep switching, you never know whether the milk or your technique was to blame.
How to steam oat milk, step by step
- Pull the espresso shot first. Steamed oat milk should not have to wait.
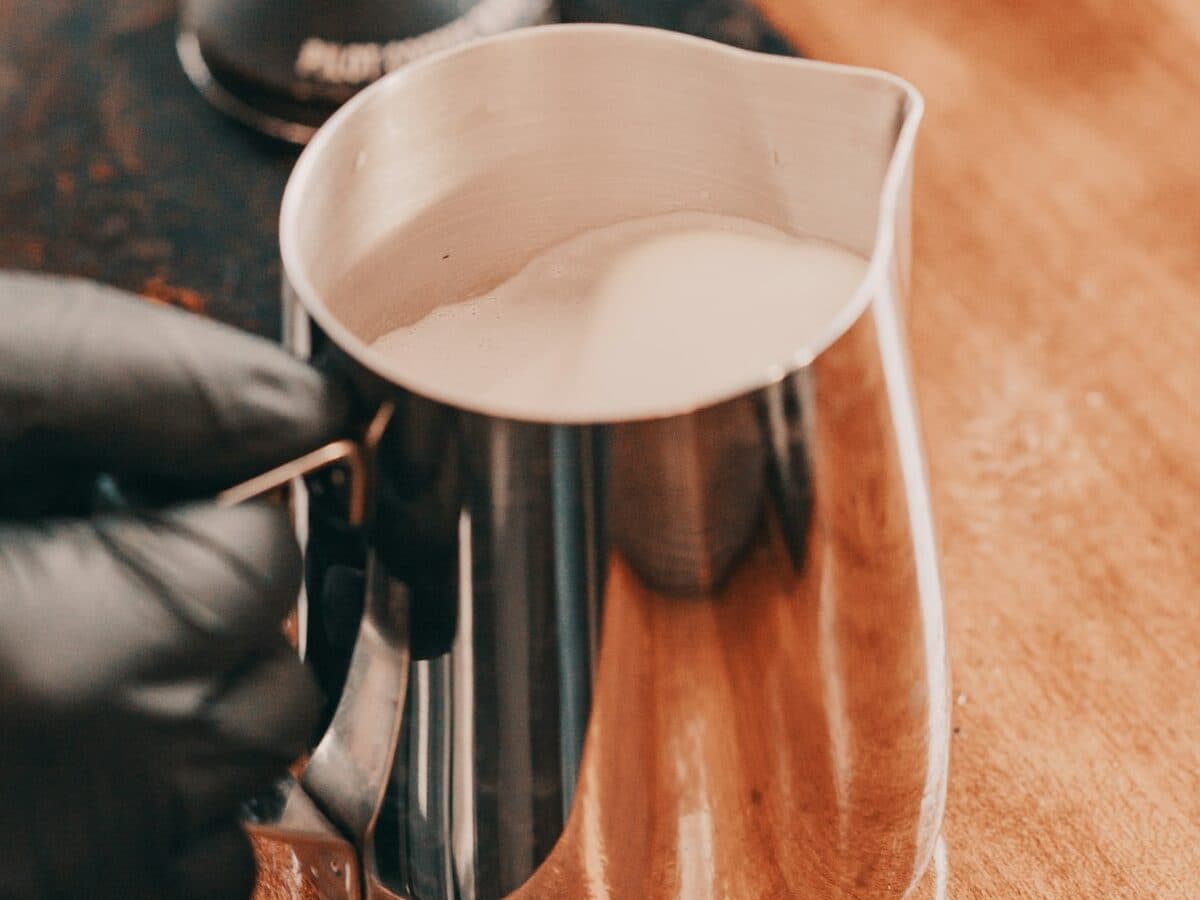
- Fill the pitcher about a third full with cold, shaken oat milk and purge the steam wand into a cloth.
- Place the tip just below the surface, slightly off-centre, and open the steam fully.
- Add air, but for less time than with dairy: just a few seconds of gentle hissing. Oat milk rises quickly. Stop as soon as it visibly grows, not when the pitcher feels lukewarm.
- Right after that, raise the pitcher a little so the tip sinks in and the milk spins in a whirlpool. This is where the bubbles get smaller and spread out.
- Stop earlier than with dairy, at about 55 to 60 °C (130 to 140 °F). Without a thermometer: turn the steam off as soon as the pitcher feels just uncomfortably hot.
- Tap the pitcher once and swirl it without a break until the surface is glossy. Then pour right away.
Hotter oat milk quickly tastes cooked and its foam starts to fall apart. A clip-on thermometer helps at the start, until you have the feel for it in your hand.
How to pour latte art with oat milk
The pour itself stays the same: first pour a thin stream into the centre from a little height so espresso and milk mix, then lower the pitcher until white appears on the surface. But oat milk flows a bit more freely, and its contrast with the crema is softer. Two things help.
- Bring the spout even closer to the surface before you start drawing. From too high, the thinner oat milk dives under and the pattern stays pale.
- Pour calmly and steadily, without stopping. Every pause lets the layers run into each other.
Start with patterns made of large shapes. A heart for beginners or a tulip is more forgiving than the fine leaves of a rosetta, which blur faster with oat milk.
Common mistakes with oat milk
Thick foam like a cappuccino
Why
You added air for as long as you would with dairy. Oat milk takes in air faster, the foam turns stiff and stays in the pitcher.
Fix
Add air for just a few seconds, then let it spin. Foam that is too thick is also the most common reason why a heart turns into a blob.
Foam and liquid separate in the pitcher
Why
The milk stood too long before you poured, or the carton was not shaken.
Fix
Have the espresso ready first, swirl the pitcher until you pour and pour right away. Shake the carton before every cup.
Small flakes in the cup
Why
The milk was too hot, or it was a regular oat drink without acidity regulators. Then it curdles in the espresso.
Fix
Stop at about 55 to 60 °C and use a barista version.
The pattern stays pale and sinks
Why
You draw from too high. The thinner oat milk dives under the crema instead of staying on top.
Fix
Lower the pitcher until the spout almost touches the surface, and only then start the pattern.
How to get better faster with oat milk
Change only one thing per cup: first how long you add air, then the temperature, then the height of the pour. Keep the same brand and the same amount. And take a photo of every cup from above. On the photo you see much better than in the moment whether the pattern sits in the centre, whether its edges are sharp and whether the change helped.
Frequently asked questions
Can you do latte art with oat milk?
Yes. With a barista oat milk you can pour a heart, a tulip and, with some practice, a rosetta. You need less air, a lower temperature of about 55 to 60 °C and you have to pour right after steaming.
Which oat milk is best for latte art?
Barista versions, because they contain more fat and additives such as acidity regulators. Brands differ. Try one for a few days and only switch once your technique is consistent.
What temperature should you steam oat milk to?
Stop at about 55 to 60 °C (130 to 140 °F), a little earlier than with dairy. Hotter oat milk tastes cooked, its foam breaks down faster and it can curdle in the espresso.
Why does my oat milk separate so quickly?
Oat milk foam holds for less time than dairy foam. Pull the espresso first, swirl the pitcher without a break and pour right away. Also shake the carton before every cup.